
The Ultimate Guide to Hanging Curtains
![]()
![]()
![]()
![]()
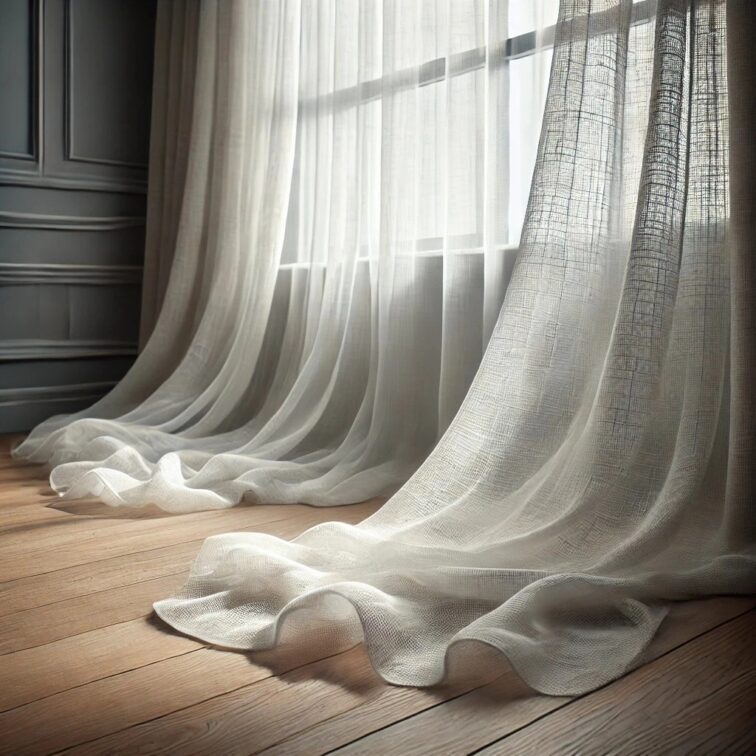
Curtains have the power to completely transform a room—adding warmth, height, texture, and personality to any space. Whether chosen for light control, privacy, or purely aesthetic appeal, the way curtains are hung makes all the difference to their overall impact.
For homeowners, stylists, and interior enthusiasts alike, understanding the right hanging techniques ensures that every fold and pleat looks intentional and refined. From the effortless elegance of eyelet curtains to the classic drape of pinch pleats and the timeless sophistication of pencil pleats, each style brings its own character and charm.
This guide walks through each method step by step, offering professional tips to achieve a luxurious, tailored finish—no matter your level of experience.
How to Hang Eyelet, Pinch, and Pencil Pleat Curtains Like a Professional
Made to Measure: Getting Started
Once the measurements are taken and the curtain pole or track is installed, the final stage—hanging the curtains—can begin. Although the process differs slightly between styles, following the correct method ensures a refined, luxurious finish. This guide explains how to hang eyelet, pinch pleat, and pencil pleat curtains for a beautifully tailored look.
Before Hanging: Preparation Tips
Before hanging, curtains should always be pressed or steamed to remove any creases. A handheld steamer is ideal, but an iron on a steam setting works just as well. It is important not to over-steam or allow the iron to touch the fabric directly to prevent damage.
How to Hang Eyelet Curtains
Eyelet curtains are among the easiest styles to install, offering a clean and modern appearance.
Step 1: Gather the Curtains
The curtains should be folded into pleats before threading them onto the pole. The eyelets should align so that the first and last pleats face inward.
Step 2: Feed the Curtain Pole Through the Eyelets
One end of the curtain pole and its finial should be removed. The pole can then be slid through the eyelets and placed back into the bracket before threading the final eyelet. This allows the outer pleat to sit neatly between the bracket and the finial. Once complete, the finial can be reattached.
How to Hang Pinch Pleat Curtains
Pinch pleat curtains deliver an elegant, structured look and can be hung from either a pole or a track.
Step 1: Check the Rings or Track Runners
The number of hooks sewn into the pleats should match the number of curtain rings or track runners.
Step 2: Adjust the Hooks if Needed
Each hook can be repositioned along a plastic retainer to adjust the curtain’s height. For poles, hooks should sit near the top; for tracks, they can be lowered slightly so the heading conceals the mechanism.
Step 3: Attach the Hooks
The hooks should be fastened to the rings or runners. When using a pole, the final ring must sit between the bracket and the finial; for a track, the last hook should attach to the fixed runner at the end.
How to Hang Pencil Pleat Curtains
Pencil pleat curtains are a timeless choice that requires a little patience but produces a beautifully tailored finish.
Step 1: Measure the Pole or Track
The full width of the pole or track should be measured and divided by two—this is the target width for each curtain.
Step 2: Tie the Cords at One End
At each end of the heading tape, three cords can be found. All three should be tied together in a double knot at one end to prevent them from pulling through.
Step 3: Pull the Cords to Create Pleats
With the curtain laid flat, the cords at the opposite end can be gently pulled to form pleats. The gathered width should match the measurement taken earlier, with an additional few centimetres to allow for overlap.
Step 4: Tie Off the Other End
The cords should then be secured with a slipknot so they can be adjusted or undone later if needed.
Step 5: Shape the Pleats
The pleats should be evenly distributed so each is approximately the width of a pencil.
Step 6: Insert the Hooks
The number of hooks required should match half the total number of rings or runners. Hooks can be attached to one of three pockets on the heading tape—use the top pocket for poles, or the middle or lower pocket for tracks. Hooks should be placed at both ends and spaced evenly, four to five pleats apart.
Step 7: Hang the Curtains
Once prepared, the curtains can be hooked onto the pole or track. The final hook or ring should be positioned between the bracket and finial (for poles) or attached to the fixed end runner (for tracks).
![]()
![]()
![]()
![]()
After Hanging: Setting the Pleats
After hanging, the curtains should be gathered back into their pleats and loosely tied. Leaving them in place for at least 48 hours allows the fabric to set into its folds and retain its elegant shape.
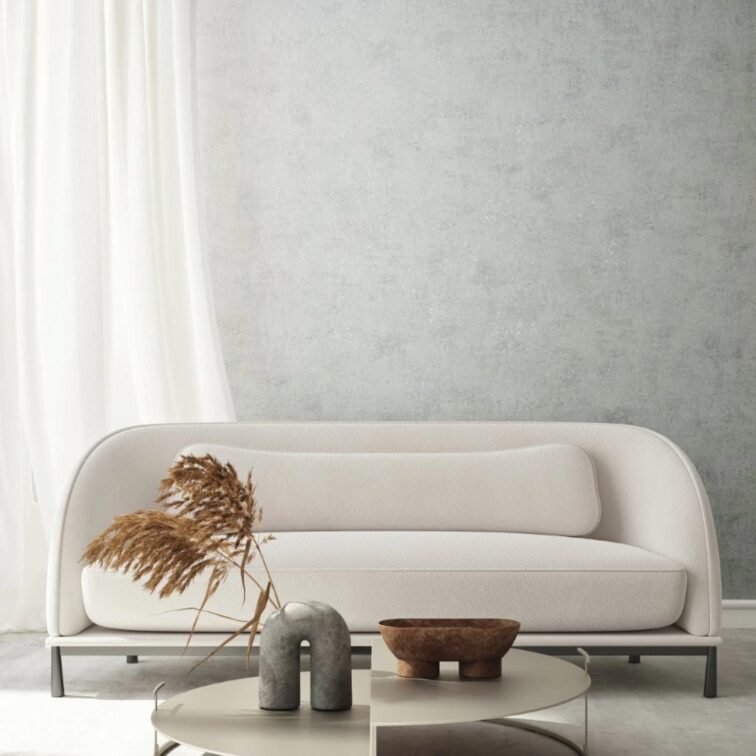
Looking for Ready-Made Curtains?
For those seeking a quicker solution, ready-made curtains provide an effortless way to enhance any space. U&G Lifestyle offers a carefully curated collection in a range of designs—from modern minimalism to timeless sophistication—crafted to bring instant style and comfort to the home.
Discover U&G Lifestyle
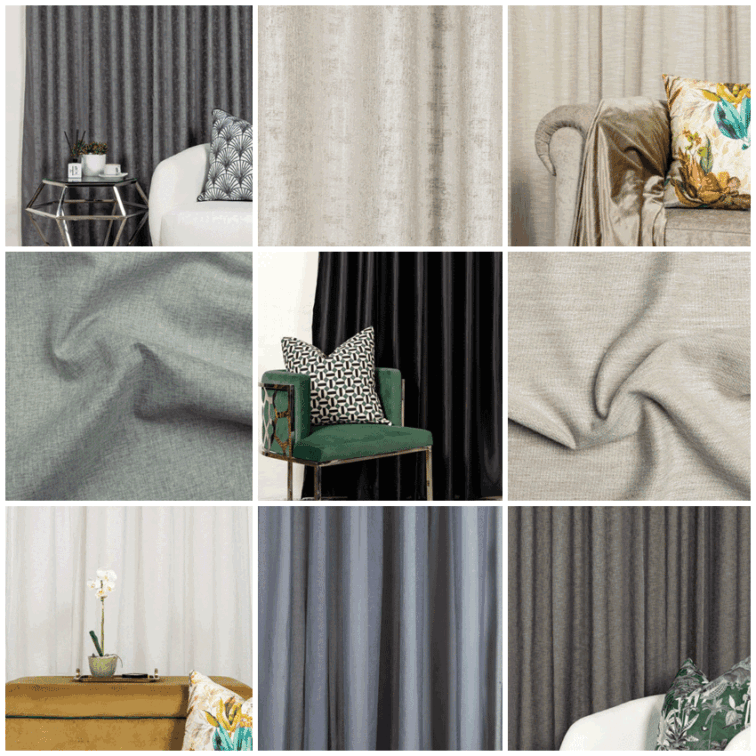
Exclusive Home Interior Designs
U&G Lifestyle is a leading distributor of premium fabrics, offering an extensive range of prints, textures, and patterns. From intricately woven designs to contemporary motifs, each fabric is thoughtfully sourced from local artisans and globally renowned manufacturers.
With a strong focus on quality, craftsmanship, and sustainability, U&G Lifestyle delivers exceptional service to designers, retailers, and creative enthusiasts around the world.
The brand’s curated selection of interior accessories, bespoke fabrics, and ready-made designs helps transform every house into a home.
Discover more and shop the collection at U&G Lifestyle.
![]()
![]()
![]()
![]()
Contact: U&G Fabrics
Be more inspired here


You might also like...
-
The Open-Door Lifestyle: Why Your Patio Needs a Modern Flyscreen

In South Africa, the sliding door is more than just an entryway; it’s the gateway to a lifestyle. It’s the wide-span opening that connects the ...
-
Trending Window Treatment Options in 2026: Why Aluminium Shutters Lead the Way | American Shutters

As interiors continue to move toward more considered, multi-functional design, window treatments are being re-evaluated not only for their aesthetic contribution but also for how ...
-
Curtains as the Room’s Silent Statement

Gorgeous, tactile, and wonderfully versatile, velvet is the kind of fabric that never loses its allure. With today’s range of colours, weaves and techniques, it ...
-
Summer-Ready Interiors: Transform Your Home with Blinds, Curtains, Shutters & Awnings

As summer arrives, homes become the heart of indoor–outdoor living. Long sunny days invite natural light and fresh air — but also heat and glare. ...


Visit SA Decor & Design on social media


