

Corobrik: A Guide To Achieving The Perfect Pathway.
A Guide To Achieving The Perfect Pathway.
Paving self-application in 7 simple steps.
Paving provides a neat, professional look to any home. Not only is it visually appealing, but paved pathways help keep outdoor surfaces clean and prevent weathering and soil erosion in the garden. Although the finished result can look complicated, the paving process is fairly simple and you don’t necessarily need to hire an expert to achieve the perfect paved pathway.
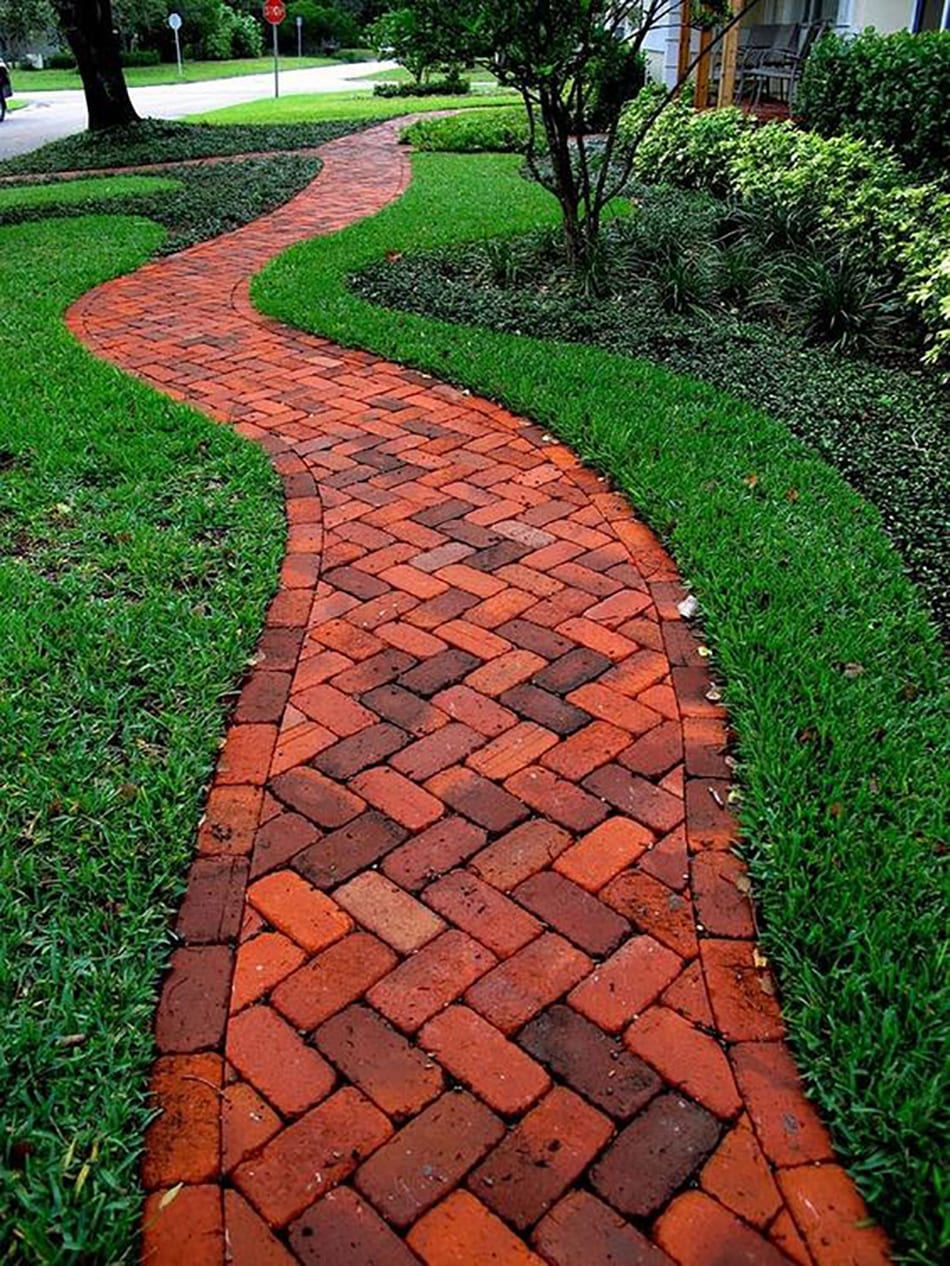
Image: https://brightside.me/
Step 1: Select the type of brick you want to use for your paving. Corobrik offers a diverse range of beautiful clay bricks and pavers with palettes ranging from soft and subtle hues to rich, dark shades of burgundy.
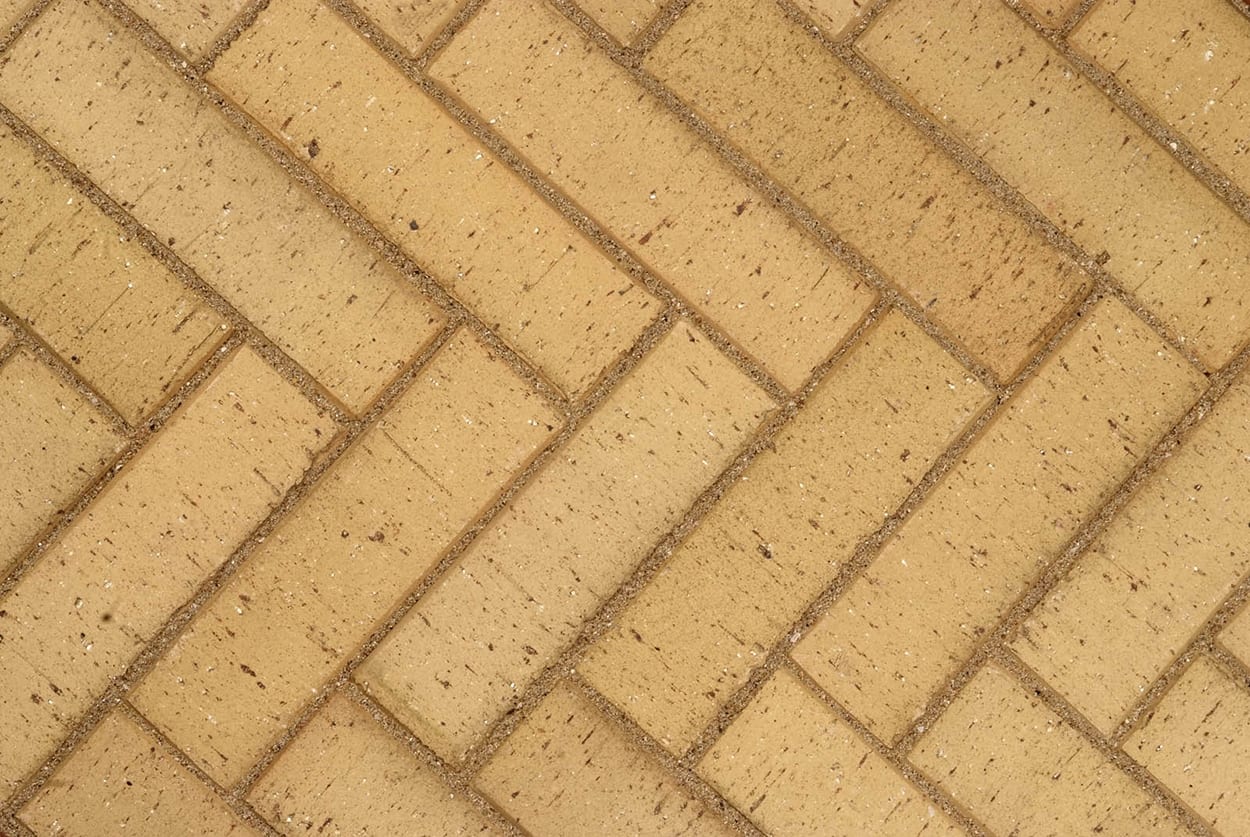

image Pinterest

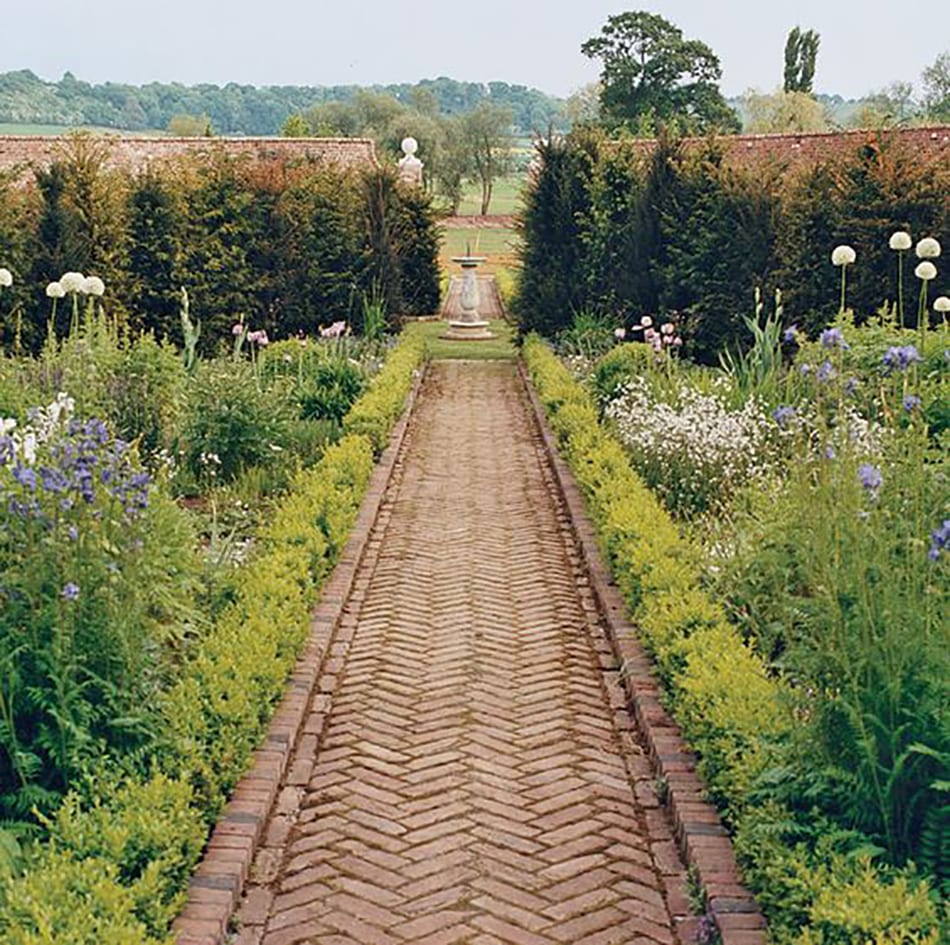
Image: Lattelisa.blogspot.com


Image: Mrsfancee.com
Step 2: Measure the surface area to get an estimate of how many square meters of paving you will need. The Corobrik Brick Calculator is a great tool for estimating the number of bricks or pavers your pathway will require.
Step 3: Prepare your surface – If you are paving outdoors, you will need to determine where the stormwater will drain away from the newly paved surface. Make sure you slope the paving slightly towards the garden and not towards the house or garage. Loosen the soil with a pick to a depth of roughly 100mm. Using a long, straight board and a spirit level, flatten and smooth out the pathway.
Step 4: Pack the loosened and leveled soil using a rammer (or garden roller if you happen to have one).
Step 5: Spray weed killer over the prepared surface to prevent unwanted weeds popping up underneath your paving. You can also apply a weed-resistant foundation or landscaping fabric which discourages the growth of weeds.

Images: thespruce.com
![]()
![]()
![]()
![]()
 Step 6: Spread course river sand over the area to a thickness of 20mm and start setting out the pavers in your chosen pattern. (See more on various paving patterns and how to apply them here.)

Image: the2seasons.com

Image: Homyfeed.com
Stretcher Bond Pattern:

Image: 1.bp.blogspot.com
Random Bond Pattern:
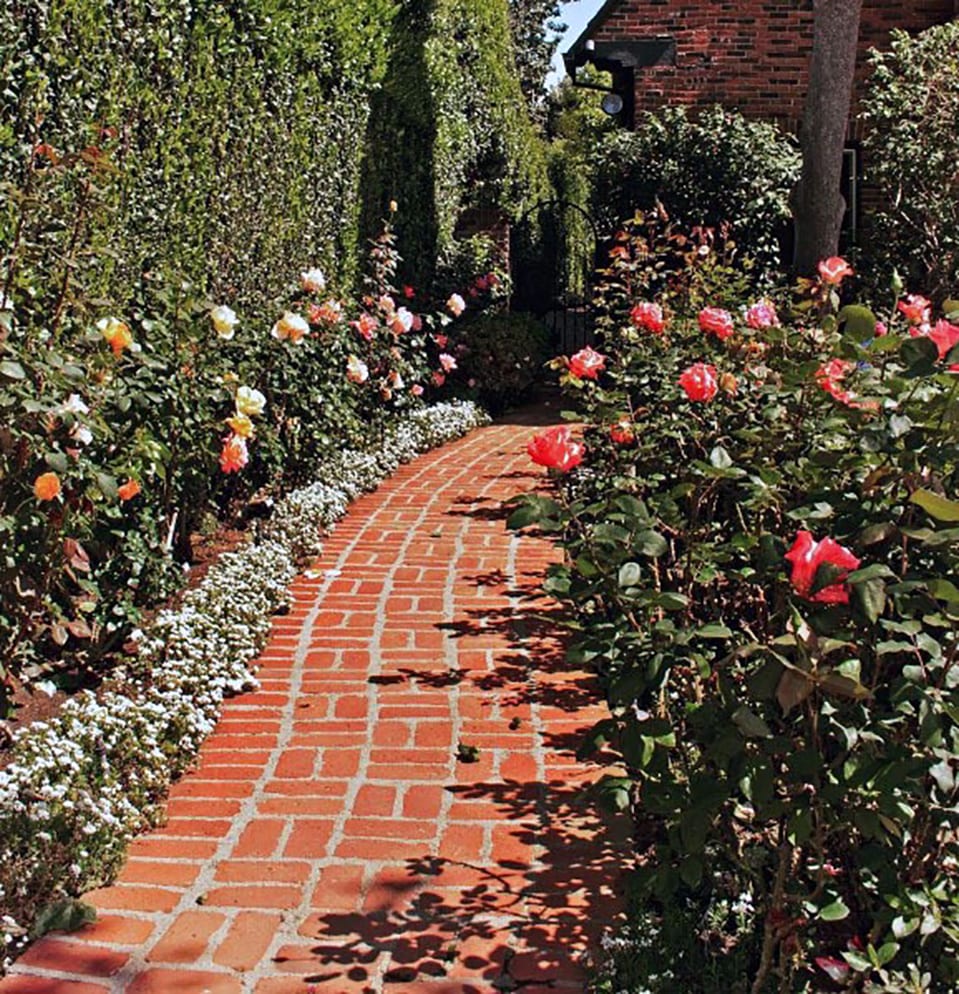
Image: nextluxury.com
Step 7: Grouting – The simplest way of applying grout is to pour the dry, fine plastering sand onto the paved surface and use a brush to scrape the powder into the joints. (Recommended for joints between 3mm – 6mm wide.) Wet the joints with water, add more dry grout and then wet the joints again. Repeat this process until each joint is filled.
Which style and colour of brick pavers would you use to pave a perfect pathway in your garden? We’d love to hear from you in the comments section below.


You might also like...
-
2025 Trends: Embracing Mocha with Corobrik Face Brick and Paving

Pantone’s Colour of the Year is Mocha – a rich, earthy tone that strikes a perfect balance between warmth and sophistication, resonating with modern and ...
-
Federale Stene Why Clay Bricks? Build with Sustainable Clay Bricks

Why Build with Clay Bricks? A Conversation with Federale Stene on Sustainability, Efficiency, and Legacy When choosing the right materials for construction, durability, ...
-
Wall Spaces: Give Your Space The Edge with Steel Planters

As the festive season approaches, now is the perfect time to refresh your home with eye-catching decor that combines durability with style. Steel planters, ...
-
Why Powering Klay with the Sun Makes Sense

For centuries, clay bricks have been shaped by the elements—earth, water, air, and fire. Now Klay is embracing a fifth force: the sun. As a ...


Visit SA Decor & Design on social media


